Jon will walk you through principles and guidelines for writing video scripts, notably for hook videos. At the end of this course, you should be able to understand the process for how to create your own hook video.
Free

When launching a new media campaign, you will want to include picture posts. Follow these steps for how to create, store, and upload picture posts.
Choose a theme that the picture post will fall under. The example in the videos comes from one of the five human longings: Security. To learn more about these longings, check out our blog post on empathy marketing.
Other examples may be:
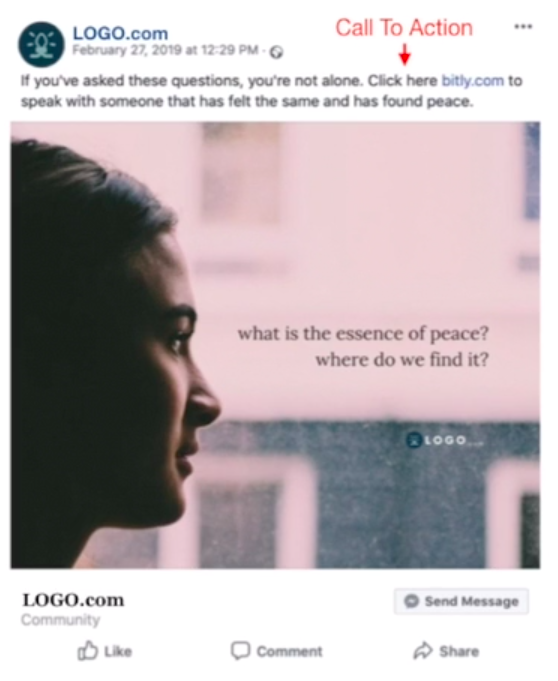
What kind of picture post will this be?
Example: Seeker sees Facebook Post –> Clicks on the link –> Visits Landing Page 1 –> Fills out contact interest form –>Digital Responder contacts seeker –> Engagement with Digital Responder –> Seekers notes a desire to meet someone face-to-face –> Multiplier contacts seeker via WhatsApp –> First Meeting –> Ongoing Meetings with Multiplier –> Group
Example in Video: Canva
Other Examples:
Download the image as as a .jpeg file
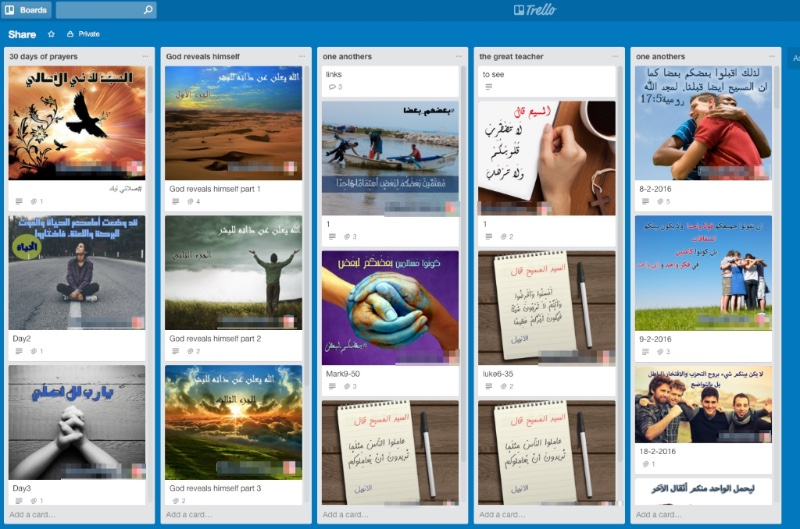
If using Trello to store content, add the image to the corresponding card.
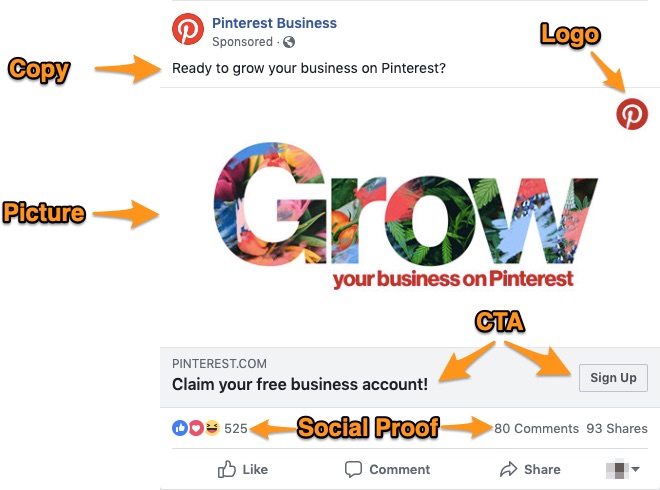
Before turning your picture post into an ad, post it organically. Let it build up some social proof (i.e. likes, loves, comments, etc) and then later turn it into an ad.
Jon will walk you through principles and guidelines for writing video scripts, notably for hook videos. At the end of this course, you should be able to understand the process for how to create your own hook video.

Learn the basics of setting up your Business account, Ad accounts, Facebook page, creating custom audiences, creating Facebook Targeted Ads, and more.

This course will explain the process of Facebook Retargeting using hook video ads and custom and lookalike audiences. Then you will practice this within a virtual simulation of Facebook Ad Manager.